May 2024
Set Up a Web App in the Cloud and Git Repository With AWS CodeCommit
In this project, I learned how to:
- 💡 Launched a new Cloud9 IDE.
- 💡 Installed Apache Maven and Java.
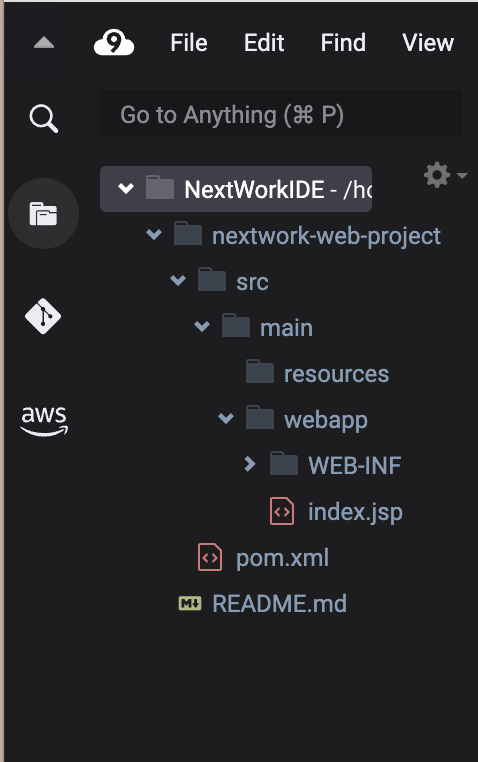
- 💡 Used Maven to set up a basic web app structure.
- 💡 Set up a CodeCommit repository
- 💡 Initialize a local repository and set its remote origin to my CodeCommit repo.
- 💡 Add, commit and push in Cloud9 IDE.
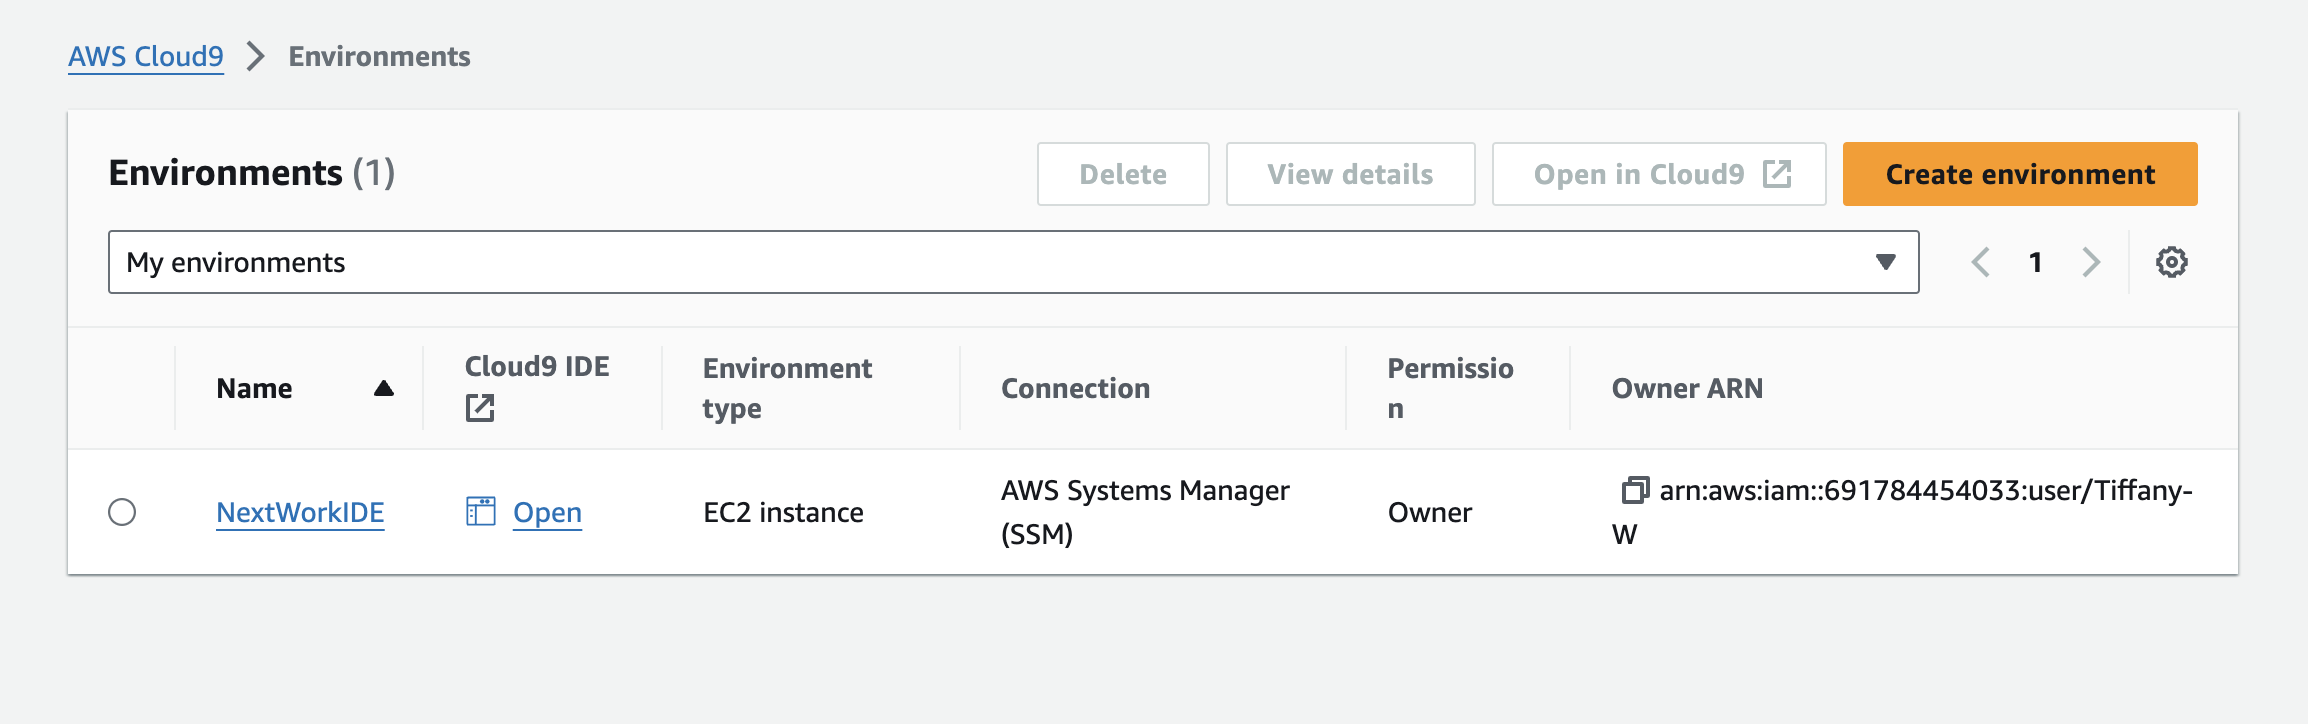
Step 1: Setting up a web app and IDE in the Cloud
- Create a new environment in Cloud9 console to launch a new Cloud9 IDE
- Install Maven & Java
Key notes ✏️:
What is Apache Maven?
Apache Maven is a powerful tool that automates the building of software.
Building is an important multi-step process that transforms code written by developers into a final product that is ready for computers to run. The key steps typically include:
Compiling, Linking, Packaging, Testing.
Each of these steps is absolutely crucial for producing a functioning software application. Tools like Apache Maven automate these processes for you!


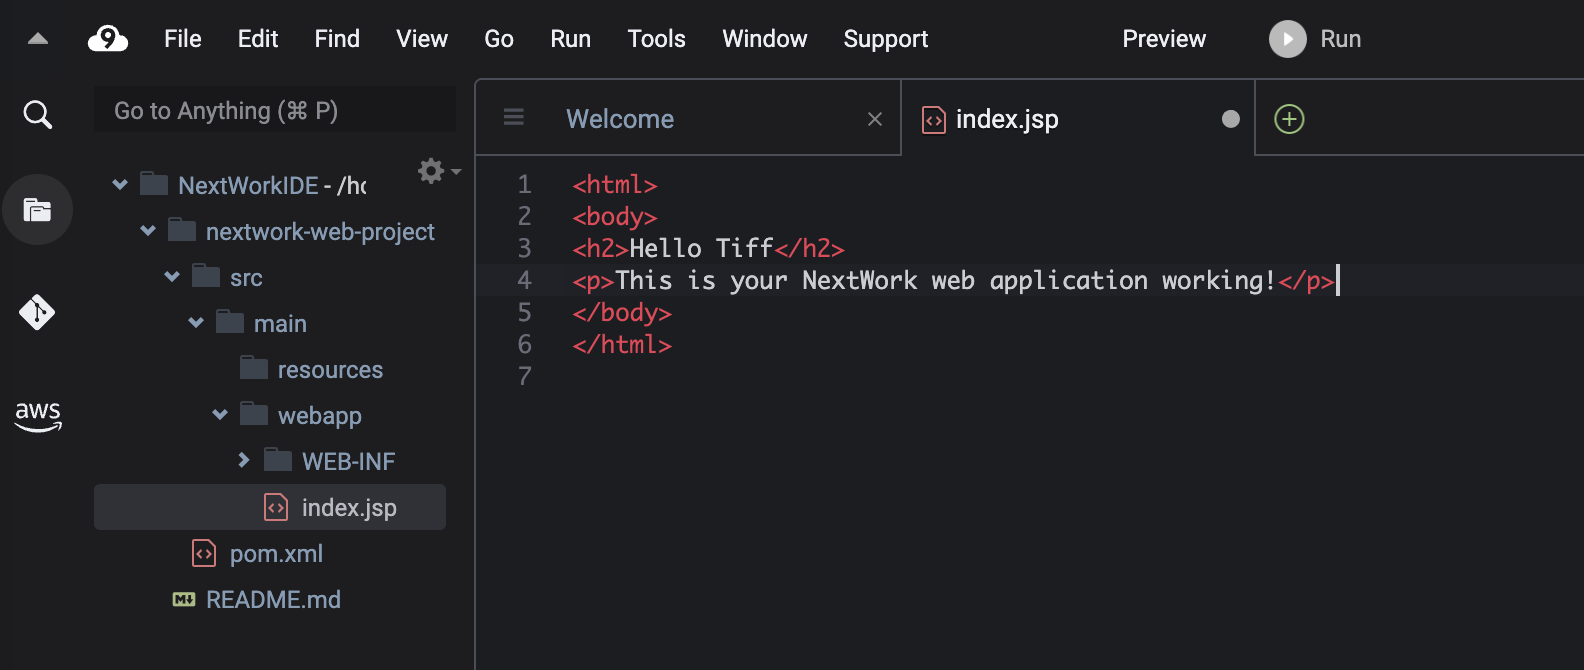
- Create an Application with Maven

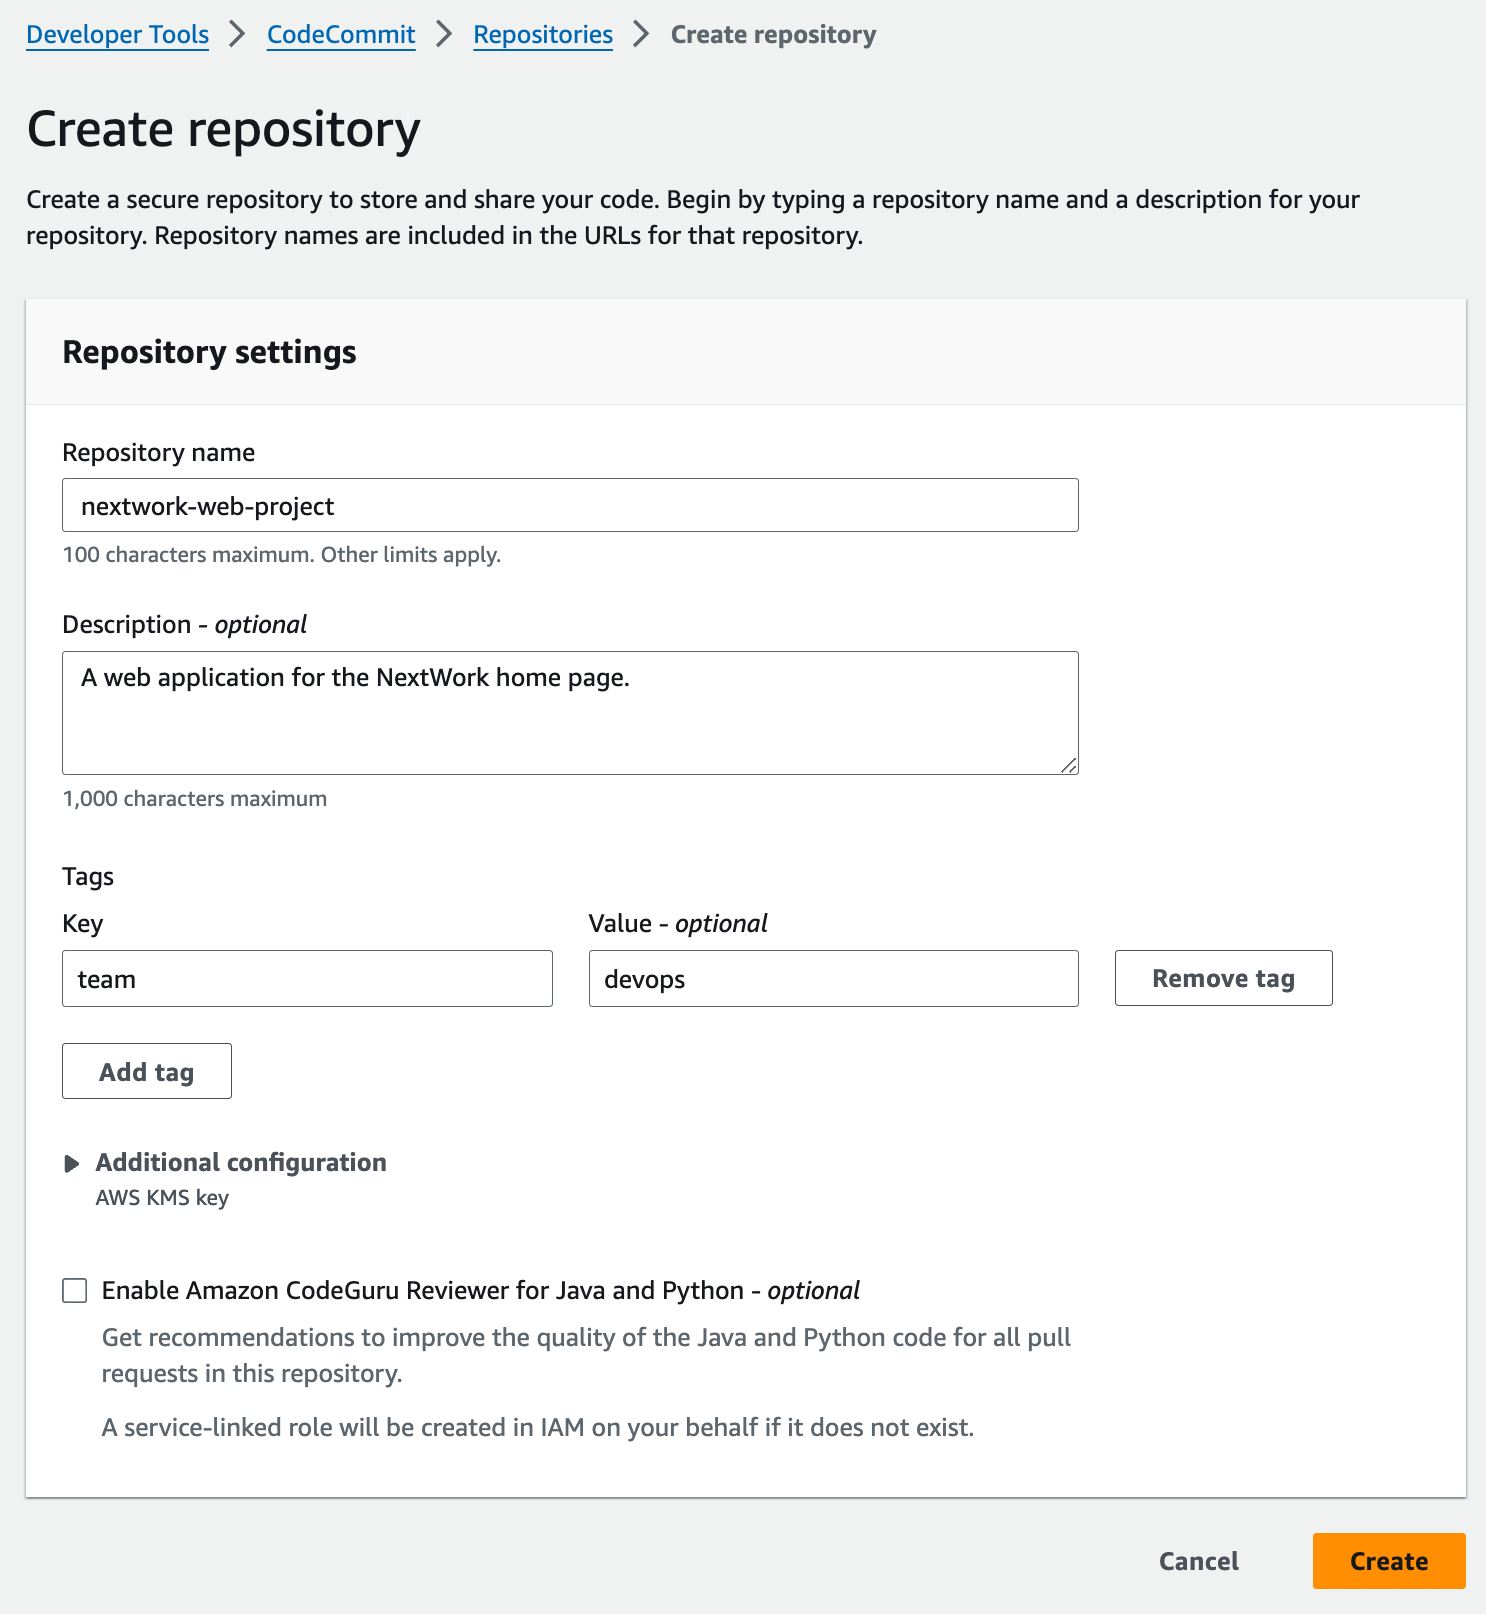
Step 2: Create a Repository in AWS CodeCommit
Key notes ✏️:
What is CodeCommit?
AWS CodeCommit is a service that host Git repositories securely in the cloud.
- Navigate to Codecommit console to set up a git repository
- Set up the git identity in cloud9 It helps the Git to know who is making changes to a repository.

- Initialize a local repository

-
Set its remote origin to CodeCommit git repo
- Clone the HTTPS URL from the CodeCommit repo
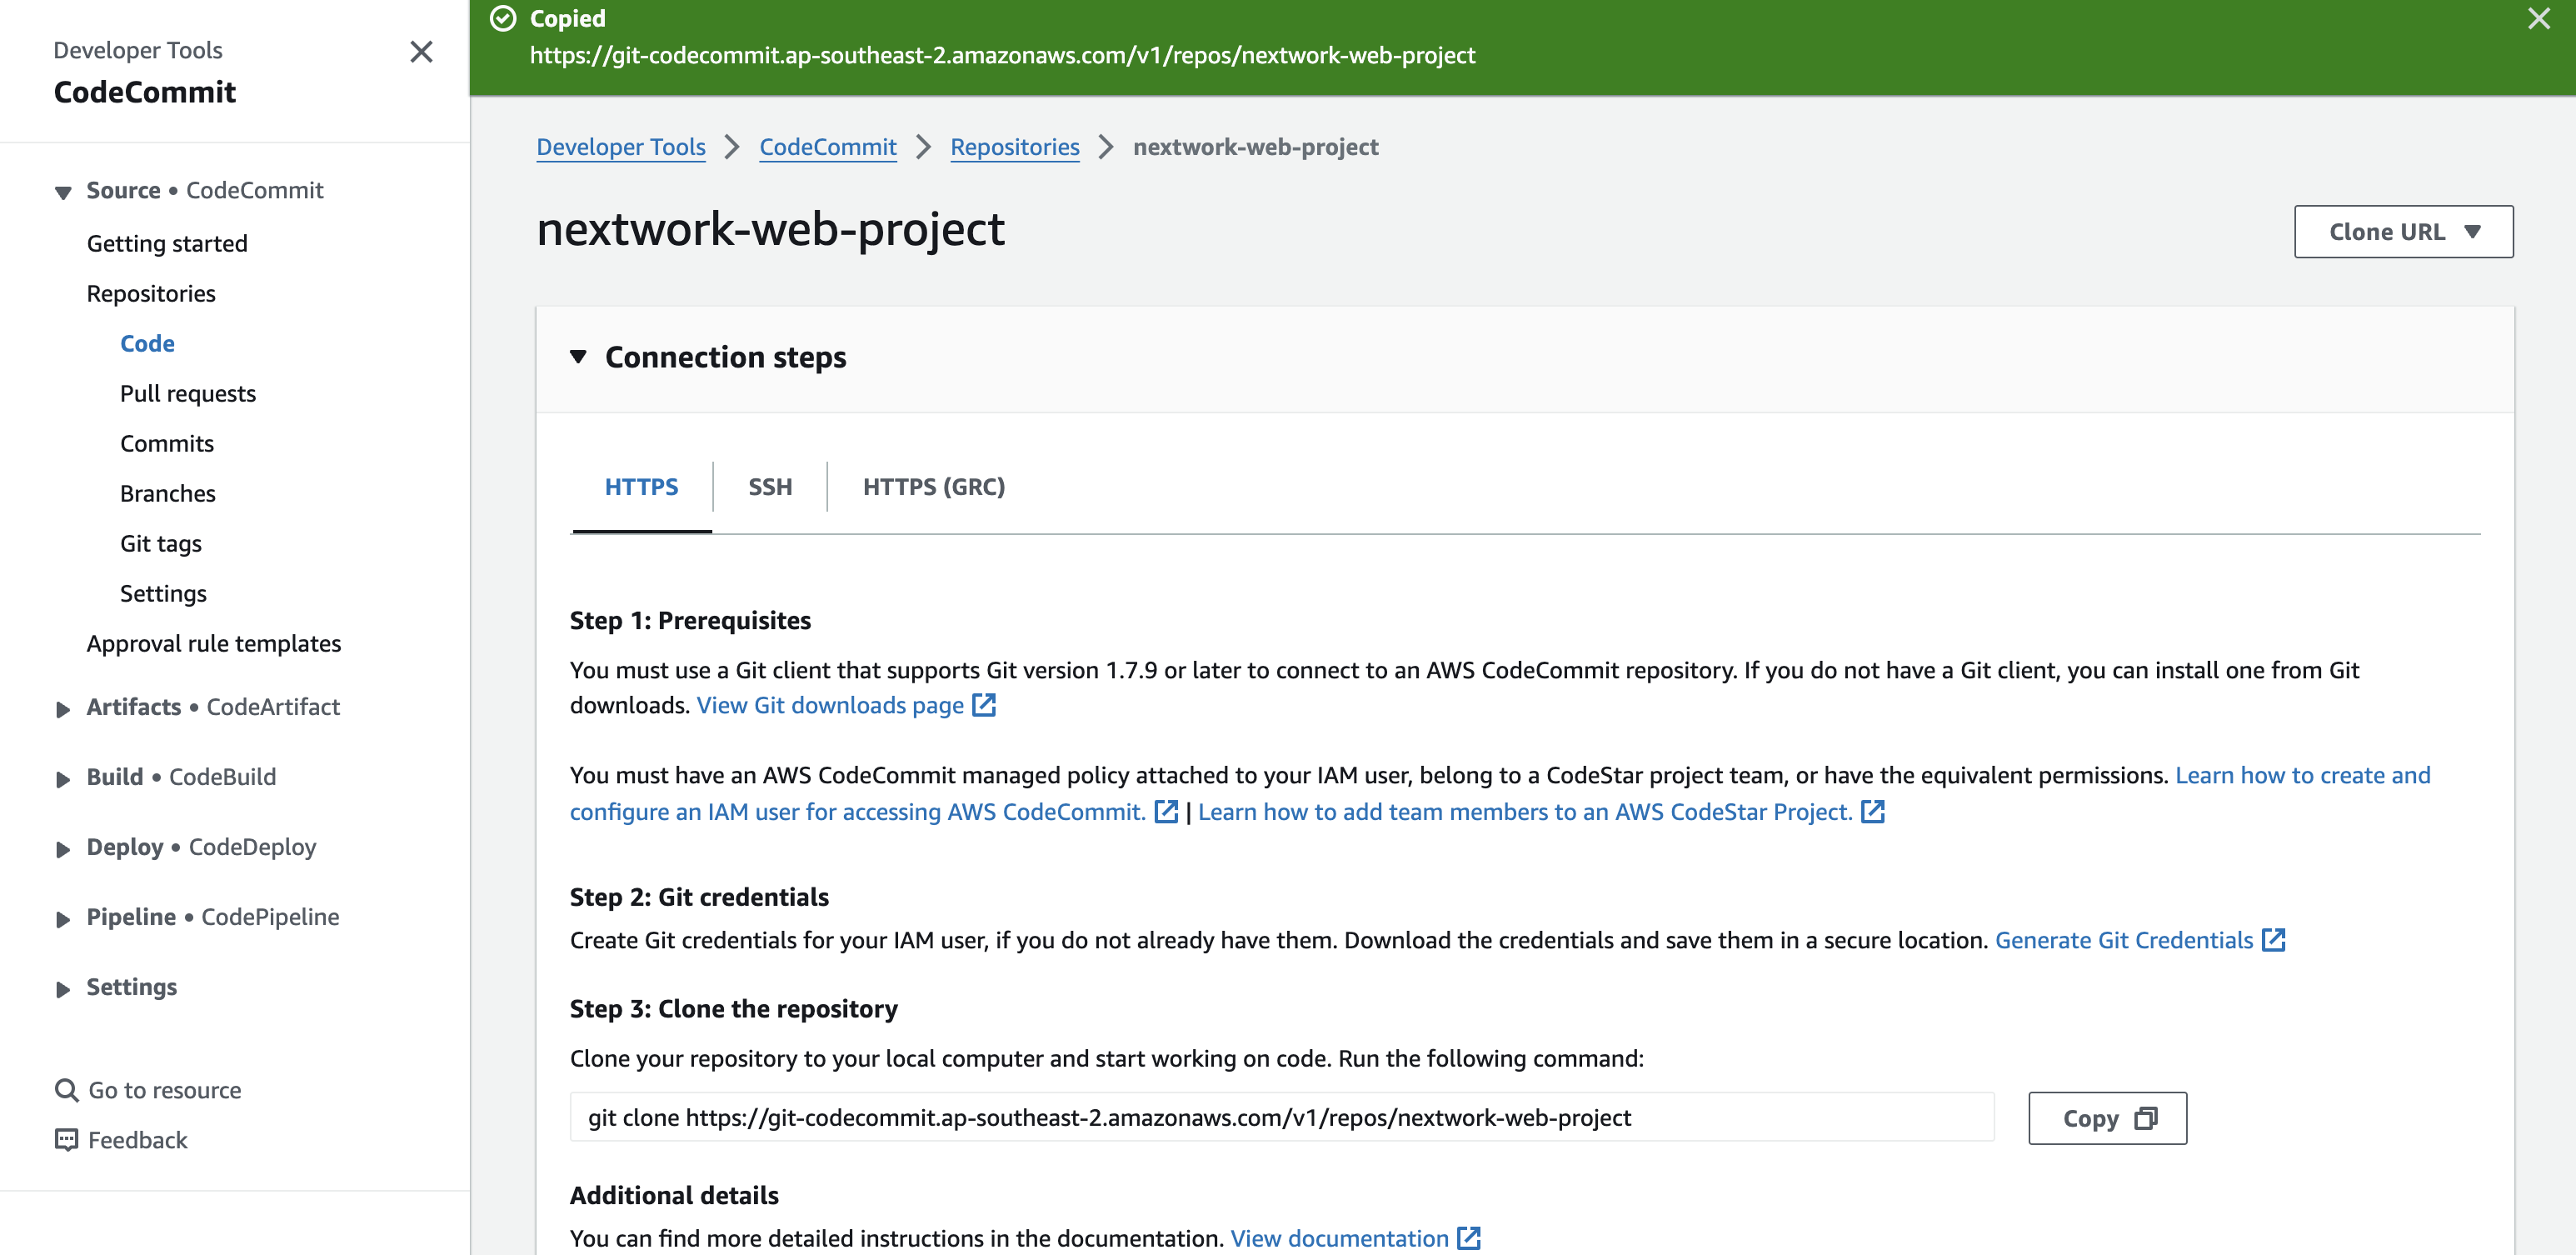
- Connect to the remote repository by appling the URL above in the command.

- Add, Commit and Push
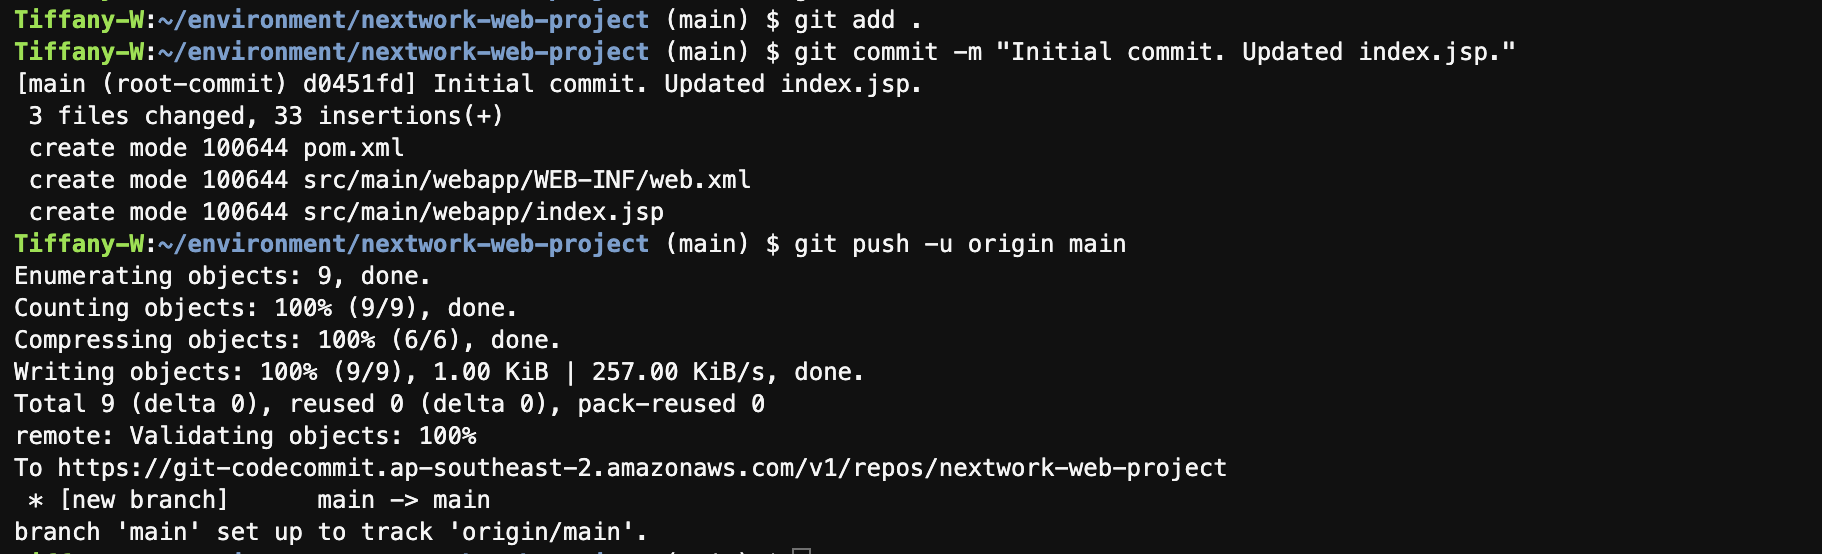
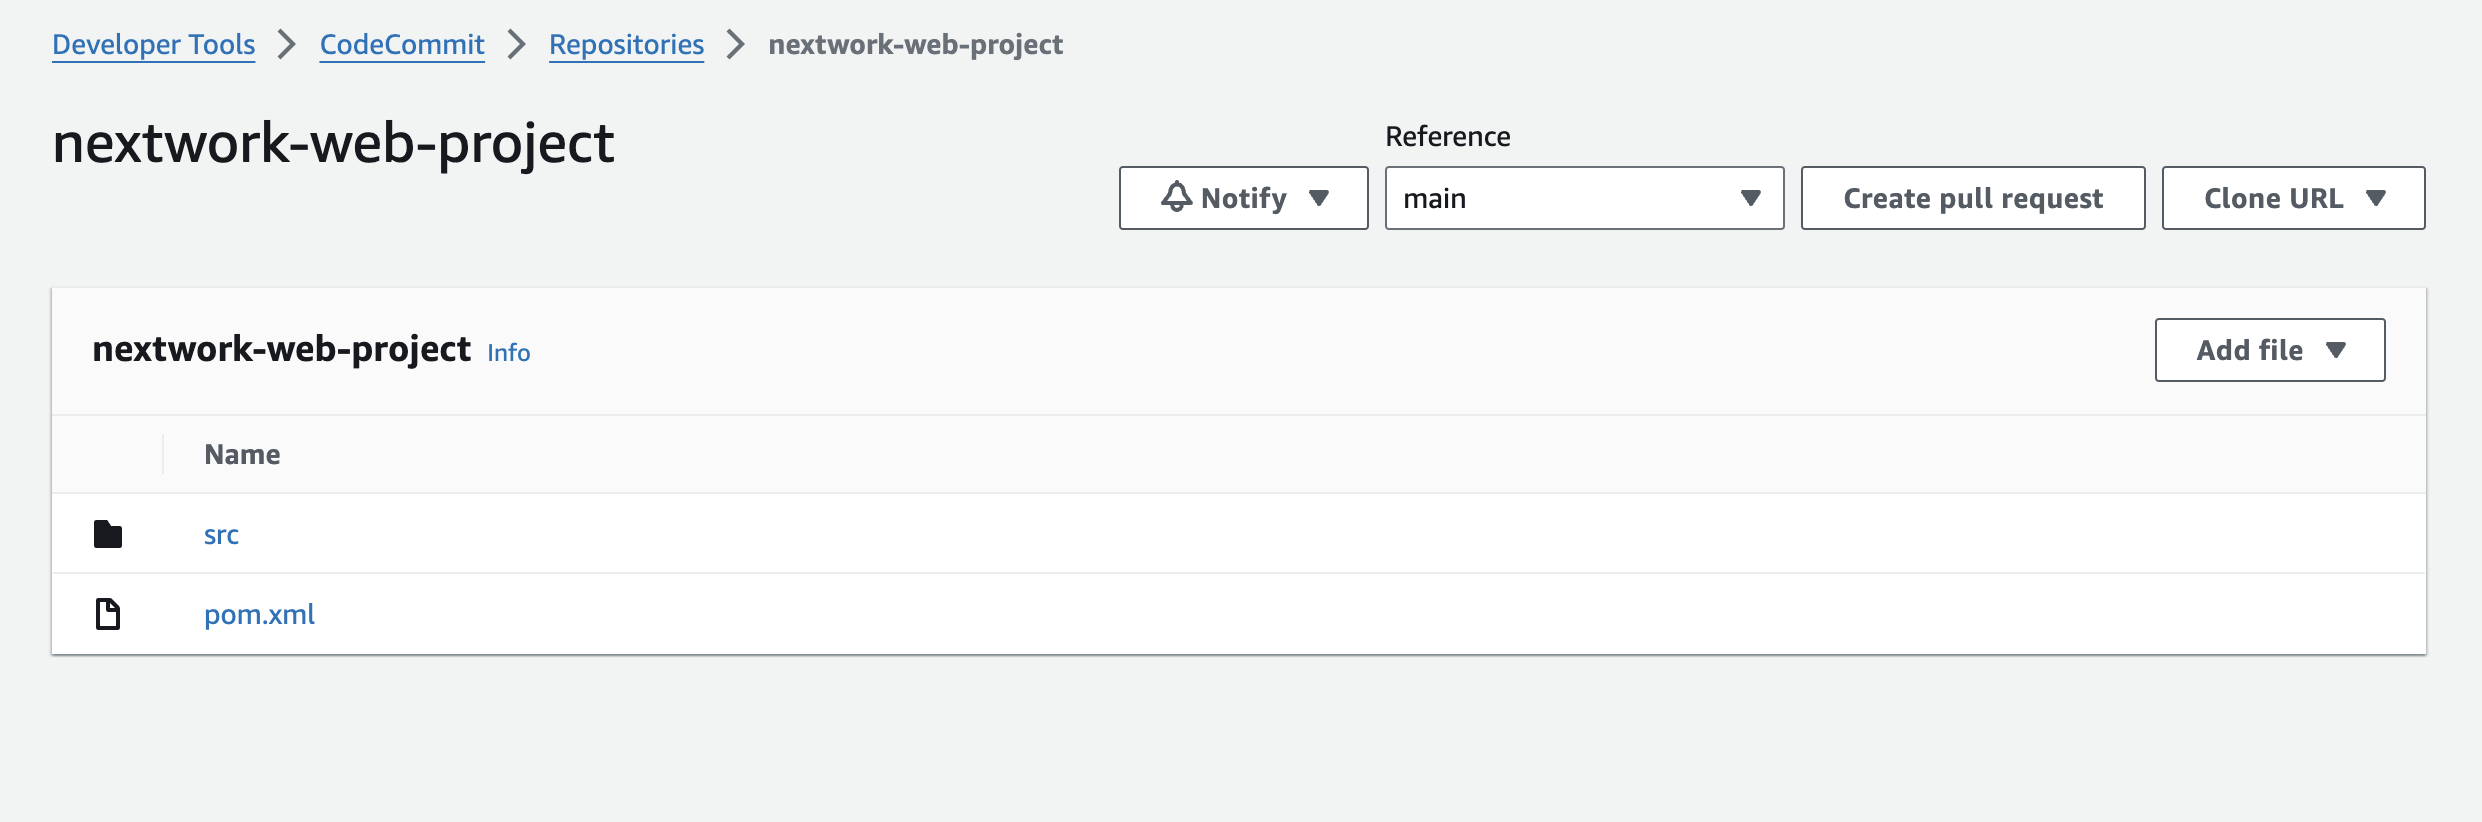
- The source code appears in the remote CodeCommit repo.
- Here's how to make a second commit
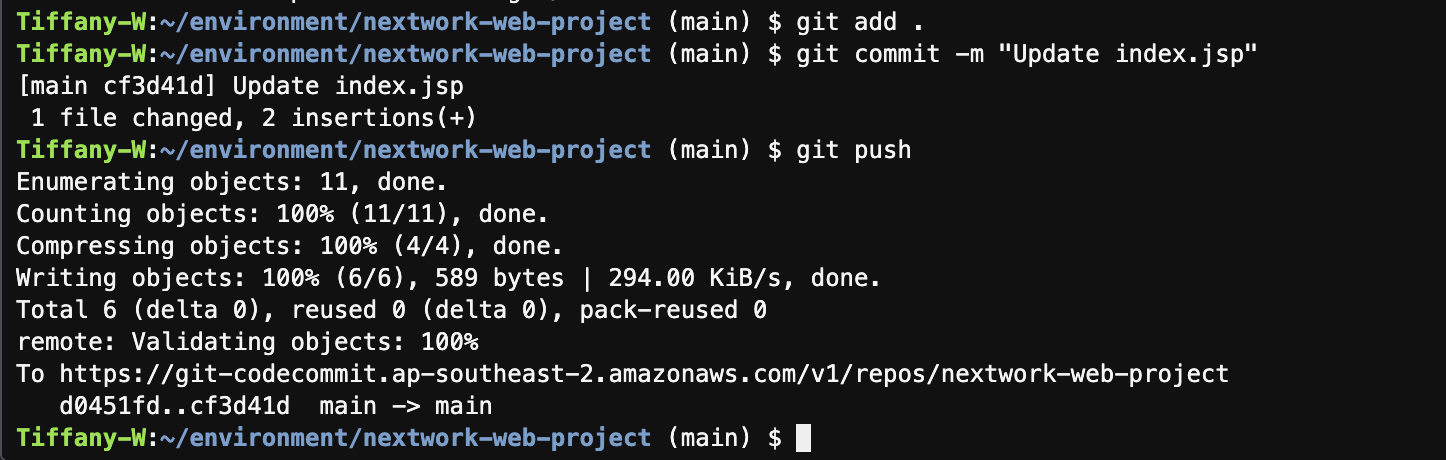
Now the CodeCommit repository is ready to store and version control the code.